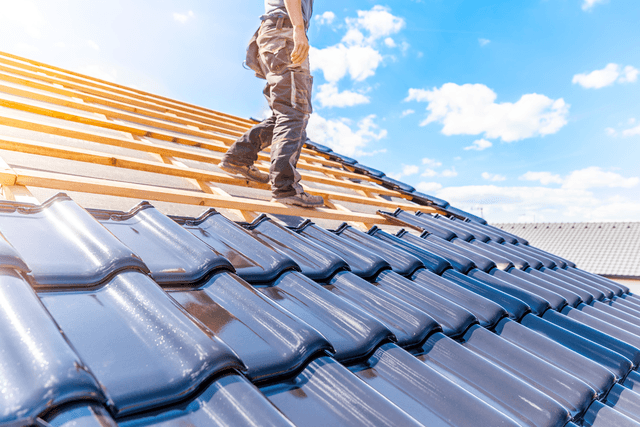
When you think about it, our roofs are a little like silent guardians. They shield us from the elements, offering protection against rain, sun, wind, and snow. And just like any silent guardian, they too get old, wear out, and eventually need to be replaced. The journey from an old roof to a new one is quite fascinating, and today, we’ll delve into the roof replacement process to understand what happens behind those ladders, shingles, and hard hats.
1. The warning signs
Before we even think about replacement, it’s important to know when a roof is truly at the end of its lifespan. Common indicators include:
- Shingles that are buckling, curling, or blistering: This means they’ve passed their prime and are no longer protecting your home as they should.
- Roof valleys: If shingles are missing in this crucial area, leaks can occur, leading to bigger problems.
- Granules in the gutters: As roofs near the end of their lifespan, they tend to lose granules, which end up in the gutters.
- Age: If your roof is 20–25 years old or older, it’s usually time to consider a replacement, even if it looks in fairly good shape from the ground.
2. Roof Inspection
So, you’ve spotted the signs. What next? A professional roof inspection! Roofing professionals will assess the state of your roof, its structural integrity, and underlying issues. They’ll check for water damage, mold growth, and other potential problem areas. This in-depth analysis helps determine whether a repair might suffice or if a full replacement is necessary.
3. Choosing the materials
Once you decide on a full replacement, it’s time to pick your materials. Gone are the days when asphalt shingles were your only option. Now, homeowners can choose from a variety of materials, such as metal, slate, tile, and even rubber. Each material has its own set of advantages, lifespans, and costs. Consult with your roofing professional to understand which material aligns with your home’s structure, your aesthetic preferences, and your budget.
4. Prepping for D-Day
Before the actual work begins, your contractor will ensure that the property is prepared. This might involve placing protective plywood or tarps over lawns and shrubberies and setting up ladders and dumpsters for old roofing materials.
5. Removing the old roof
The real action starts with the removal of your old roof. The team will strip off old shingles, underlayment, and flashing. It’s crucial to remove everything down to the decking to ensure the new roof has a solid foundation. If any of the wooden decking is damaged, it will be replaced to prevent future issues.
6. Installing the underlayment
After clearing the old materials and ensuring the decking is in good shape, the next step involves laying down the underlayment. This acts as a secondary barrier against moisture and is essential for the longevity of your new roof.
7. Placing the new roof
The team will then start the installation of your chosen roofing material. Be it shingles, tiles, or metal panels, this process needs precision to ensure a snug fit, proper water runoff, and a great aesthetic finish.
8. Final Touches
Once the main roofing material is securely in place, the team will focus on details such as installing ridge vents, hip caps, and flashing around chimneys, vents, and valleys. These final touches are crucial for the overall performance and look of your new roof.
9. Cleanup and Inspection
After the installation, the team will clean up the worksite, ensuring no nails, debris, or old roofing materials are left behind. The contractor will then perform a final inspection to make sure everything meets the agreed-upon standards.
10. Enjoying Your New Roof
And voila! Your home is now adorned with a brand-new roof, ready to protect your family and belongings for decades to come.
In Conclusion
The journey from an old, worn-out roof to a brand-new one is a combination of skilled labor, top-notch materials, and precise execution. While it might be tempting to consider a DIY approach, given the complexities involved, it’s best left to professionals. After all, a roof is more than just an aesthetic cover; it’s a shield, a protector, and an essential structural component of your home.

